At the loft we love a challenge, so when the Violence Reduction Unit Scotland came to us and needed a unique, bespoke tradeshow banner in 48 hours we rolled up our sleeves and got to work. As part of the Police Scotland, the Violence Reduction Unit Scotland was formed to target all types of violence — ranging from gang fighting to domestic violence to bullying in the workplace and schools. The work they do is incredible and we have had the pleasure of working with them over the past year.
VRU Scotland didn’t want a pull-up banner, they really wanted something bespoke, that was in keeping with the graffiti visuals we had created for them. With this in mind, we came up with a few alternative ideas to the traditional tradeshow banner. In the end, it involved some MDF, vinyl and a whole lot of black spray paint. And here is how we did it.
1. Vinyl & Vans
The tradeshow banner was for one of their projects, Street & Arrow. This project hires former offenders for twelve-month blocks. During that time workers are paired with a mentor who can help them master everything from basic employment skills like time management to managing money and relationship issues. The design we went with included the Street & Arrow visual which features a man taking his hoodie off to reveal a chef’s uniform. This visual comes with a double-take message on perceptions.
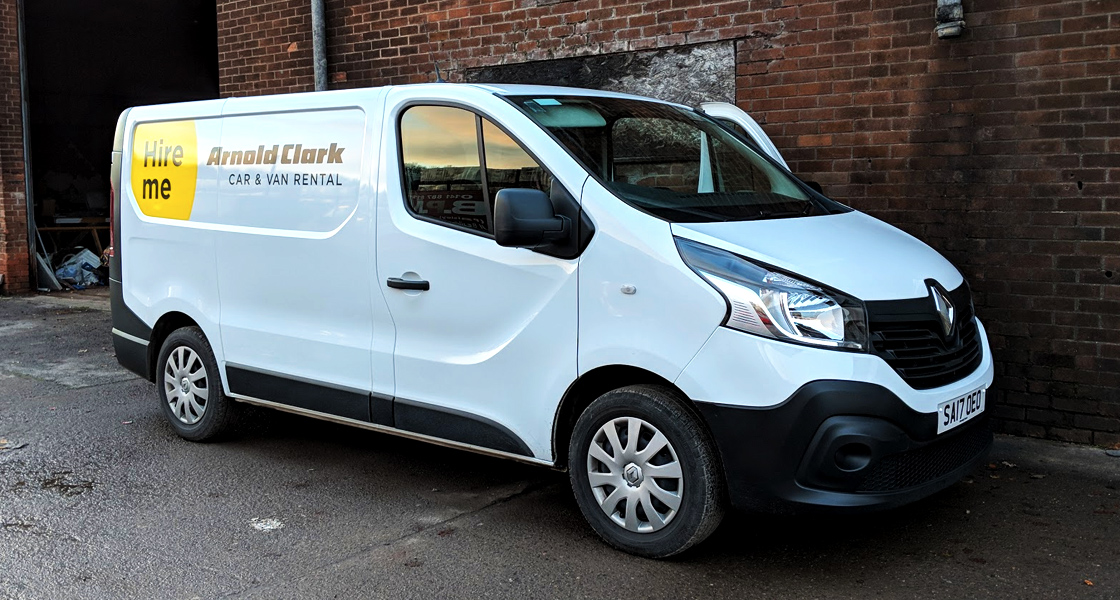
In order to get the Street & Arrow visual on to the MDF board, we decided to use vinyl as a stencil. First we started with creating the artwork and sending it off to a printer who was able to get the vinyl cut and ready for us the next day. Next, came the problem of working out how we were going to transport a 2-metre tall piece of MDF to the warehouse (where we were going to create the tradeshow banner) and back — introducing the van.
2. Prime & Prep
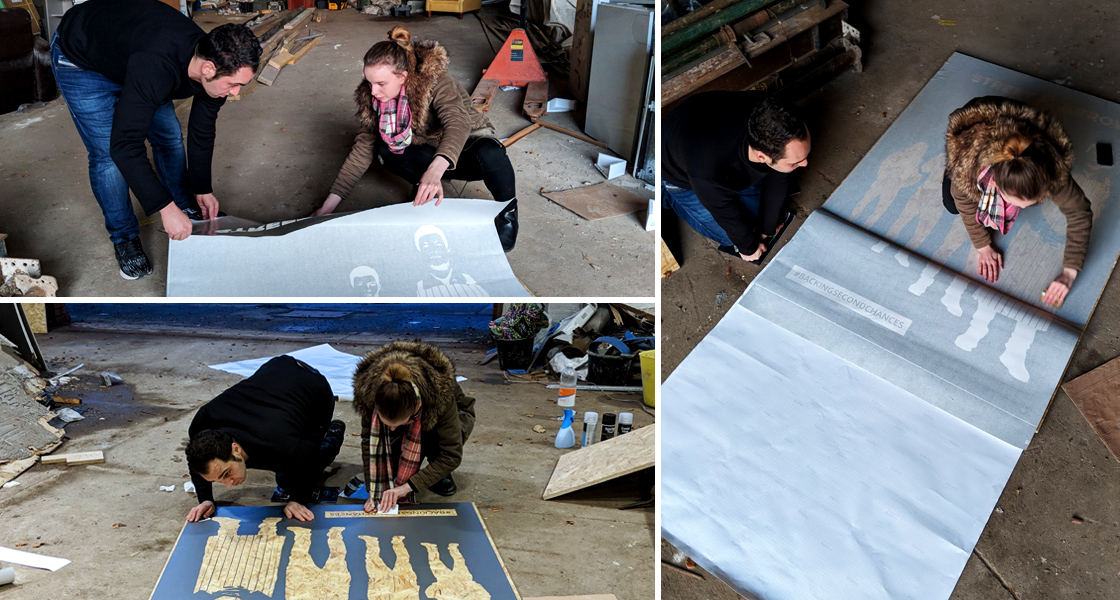
Van hired, vinyl collected and MDF bought, early the next day we headed to a warehouse to get started. Before we could apply the vinyl we needed to prime the wood. For this, we used two coats of clear primer. This took the better part of the morning as each coat needed a good few hours to dry. Once they had dried we applied the vinyl. This part of the process was the most delicate and had to be carried out slowly. Starting at the top and only applying a small section at a time, we smoothed the vinyl so that there was no bubbling. To ensure this we got inventive and used a credit card to smooth each section. Before peeling off the outer layer of the vinyl to expose the stencil we sprayed the board lightly with water to make it easier to remove.
3. Spray & Reveal
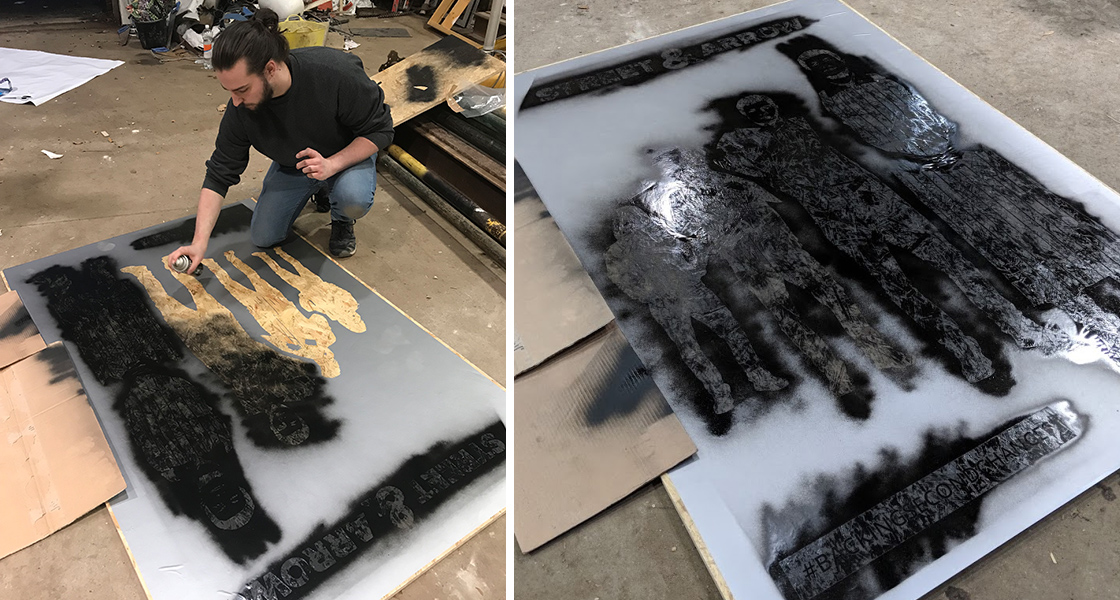
Vinyl applied and ready, it was time to spray paint. One bit at a time we covered the full stencil in black spray paint ensuring we kept an even coverage across the whole design. While we waited for the spray paint to dry we went for a quick donut and coffee stop. Feeling re-energised it was time for the big reveal, after double checking that the paint was dry, we removed the vinyl stencil piece by piece to expose the final design.
4. Display & Deliver
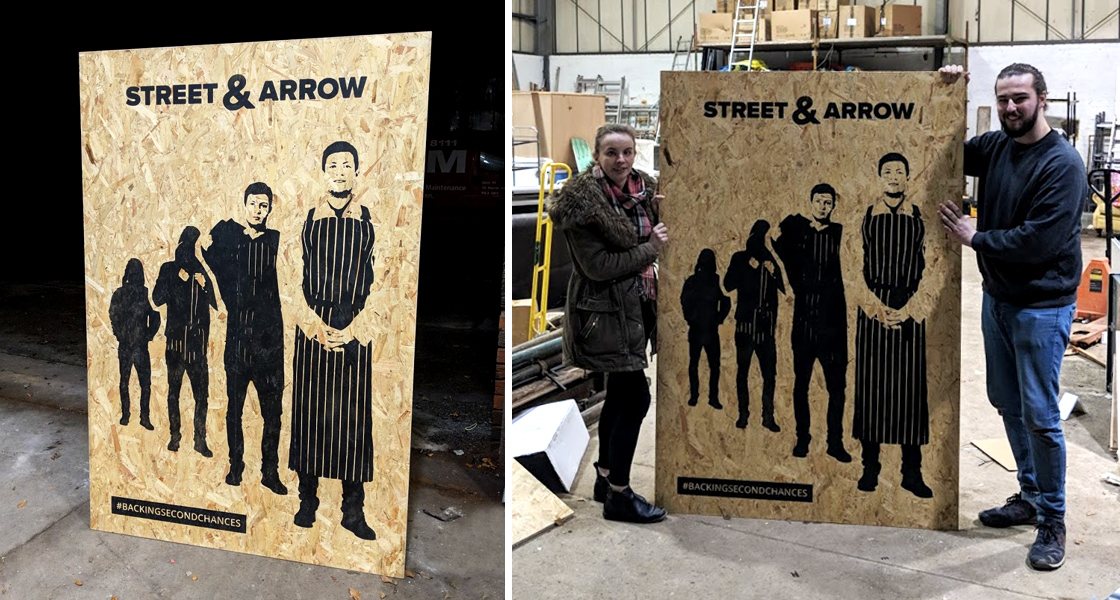
Next, we attached a fixing to make it stand. To make it easy to transport we went for a photo frame style stand. Now at the loft, we love any excuse for a couple of photos so after we finished posing with the completed tradeshow banner, it was time to put the banner carefully back into the van ready to be delivered to the client early the next day.
Creating the tradeshow banner was a whole lot of fun, the client was really happy with how the banner turned out and Reiss got to fulfill his lifetime dream of driving a van!
Laura, Designer & Director of Noise

Miss Noisy! The team’s very own socialite and one who masters every situation she finds herself. Laura is the lady for every occasion. She has a formidable array of skills as a creative, diplomat, agony aunt, blogger, Tweeter, art-director, team player and our own favourite — noisemaker. A more perfect dinner companion, you will be hard-pressed to find.